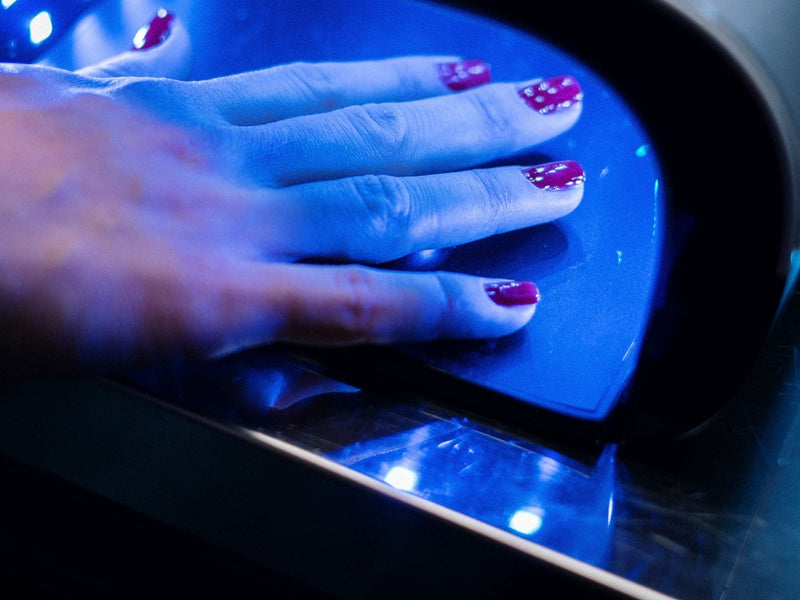
Learning how to use a nail drill is easier than it looks, as long as you go slowly and respect the tool. An electric nail drill, also called an e-file, spins a small bit to shape, smooth and refine nails far faster than a hand file, which is exactly why beginners need to start with low speed, light pressure and a clear routine.
This guide covers the parts of a drill setup, how to choose and fit a bit, the safe way to hold and move the drill, a simple step-by-step routine, common mistakes and how to look after your bits. It is general technique advice for hobbyists; always follow the instructions that come with your own drill.
What an electric nail drill actually does
A nail drill is a handpiece with a motor that rotates a bit. Different bits do different jobs: some shape the free edge, some smooth the surface, some clean around the cuticle, and some remove product or dead skin. The motor does the work, so your job is to guide it, not to push.
Typical uses at home include:
- Shaping and refining the nail edge.
- Smoothing the surface before applying base coat.
- Cleaning up around the cuticle area.
- Smoothing hardened dead skin and calluses, such as on the feet, with the right bit.
- Reducing gel or extension product when it is time to rework it.
The setup: what you need before you start
A drill session is much more comfortable when your station is prepared. At minimum you want:
- A drill with speed control and a forward and reverse switch. Check the handpiece fits your bits.
- Two or three bits of different grits so you can step down from coarse to fine.
- Good light, so you can see what the bit is touching.
- A way to deal with dust: filing creates fine particles you should not breathe in repeatedly.
- A place to store your bits so they stay clean and organized.
Understanding bits and grits
Bits are the heart of the system. Two choices matter most: shape and grit. Shape decides where on the nail the bit is used. Grit decides how aggressive it is.
Grit is the roughness of the bit's cutting surface. A coarser grit removes more material and is used for rough work; a finer grit removes less and is used to finish and smooth. As a beginner, you will do almost everything with medium and fine grits and keep coarse ones for heavy removal.
The Tungsten Carbide Nail Drill Bits are sold by grit, from extra coarse to extra fine, in plain or gold finish. According to the product page they are made of tungsten steel and are intended for shaping, filing, polishing dead skin and removing calluses, and the page recommends use on a compatible drill. They also come in a ten-bit bundle option. For the full picture on shapes, see nail drill bits explained: shapes and grits.

How to fit a bit safely
- Turn the drill off and make sure the handpiece is not spinning.
- Loosen the clip or collet as your drill's instructions describe.
- Insert the bit shank fully into the handpiece so it sits straight.
- Lock it securely. Give it a gentle tug to confirm it is held firmly before switching on.
The bit listing gives the same basic order: loosen the drill clip, insert the bit and lock it securely. If a bit wobbles when it spins, stop, switch off and refit it. Never use a bent bit.
How to hold the drill
Hold the handpiece like a pen, with your fingers near the front so you can control it. Rest the heel of your hand or your wrist on the table or a support. Keep the cord relaxed so it does not pull the handpiece.
A hand rest can make a real difference over a long session, because a supported wrist moves more smoothly. The Soft Hand Rest Cushion is a padded armrest that supports your hand and wrist while you work at a desk or table.
Direction and speed
Many drills have a forward and reverse switch. Left- and right-handed users often prefer different directions, and the correct setting depends on the bit and the drill, so check your drill's manual and test on a practice nail before you work on yourself.
Start at the lowest speed and increase only as you gain confidence. Speed is not the same as efficiency: a slower bit with steady movement gives more control than a fast bit pushed hard. High speed in beginner hands is the quickest route to heat and mistakes.
Step-by-step: a safe beginner routine
- Prepare the nails. Clean and dry hands, and push back the cuticle gently with a tool. Make sure the nail is dry.
- Check your station. Light on, dust control ready, bit fitted and locked, speed set low.
- Test the drill away from the nail. Switch it on in the air for a second to check it spins evenly.
- Touch lightly. Bring the spinning bit to the nail with the lightest contact you can manage. Let the bit do the work.
- Keep moving. Use short, sweeping strokes. Never hold the bit in one spot, because heat builds up quickly.
- Keep the bit flat. Avoid tilting it so the edge digs in. Keep the angle consistent and shallow.
- Check often. Stop, switch off and look at the nail every few passes.
- Finish with a finer bit or a buffer to smooth any marks.
- Remove dust. Brush or wipe the nail and your hands so the surface is clean before the next step.
If it gets warm, stop
If the nail feels hot or starts to sting, lift the bit immediately and let the nail rest. Reduce speed, use a lighter touch, or use a finer grit. Heat is a signal that you are working too long in one place or pressing too hard.
Dealing with dust
Filing, whether by hand or drill, produces fine dust. It is worth managing rather than ignoring. Work in a ventilated space, brush dust off regularly and consider a dust collector at your station.
The 80W Nail Dust Collector is a desktop unit with two fans, a stainless steel and ABS body and a soft hand pad. The product page describes placing your hands over the vented area after filing or polishing, and notes that it is an electrical item with a US plug. You can browse similar items in the e-files, bits and dust collection.

Storing and caring for your bits
Clean bits cut better and last longer. After use, brush off dust and debris and wipe bits as your product instructions advise. Keep them dry and stored so the working ends do not knock against each other.
The Nail Drill Bit Storage Box holds up to 25 bits in 25 holes with a transparent acrylic lid, in aluminum and acrylic, and is about 7.8 x 9.1 x 6.1 cm. Drill bits are not included. Keeping them in labeled holes also makes it easy to see which grit you are reaching for.
Common beginner mistakes
- Too much speed. Start low. You can always increase it later.
- Pressing too hard. The bit should glide. Pressure creates heat and removes more than you meant to.
- Staying in one place. Always keep the bit moving.
- Using a coarse grit for finishing. Step down to a finer grit for smoothing.
- Going near skin with a sharp edge. Take extra care near the cuticle and sidewalls. Use the right bit shape and a very light touch.
- Using an unlocked or bent bit. Always check that the bit is seated and straight.
- Skipping hygiene. Keep bits clean and do not share them between people without proper cleaning.
Practice before you use it on yourself
Because the drill is fast, it makes sense to rehearse on something that is not your own nail. A practice hand with replaceable nails lets you learn the feel of the handpiece, the angle and the amount of pressure with no risk. See our guide to practicing nail art with a practice hand for how to get the most from one.
When not to use a drill
- If you have a skin condition, an infection or irritation around the nail, ask a qualified professional for advice rather than using a drill.
- If the nail or surrounding skin is sore, cracked or inflamed, wait.
- If you feel unsure, use a hand file instead; there is no shame in it.
Bit instructions from the product page also say to stop use if redness or irritation occurs.
What you need
- Tungsten Carbide Nail Drill Bits in five grits
- Nail Drill Bit Storage Box with 25 holes
- 80W Nail Dust Collector with hand pad
- Soft Hand Rest Cushion for Manicures
Explore the e-files, bits and dust collection and the gel removal and prep collection. Related guides: nail drill bits explained: shapes and grits and how to remove gel polish at home.
Frequently asked questions
What speed should a beginner use on a nail drill?
Start at the lowest speed and increase it gradually as you gain control. Slower speed with light pressure gives you more control than high speed.
Which nail drill bit is best for beginners?
A medium or fine grit is the usual starting point because it is less aggressive. Keep coarser grits for heavy removal once you are comfortable.
Can a nail drill damage my nails?
It can if used with too much pressure, too much speed or in one spot for too long. Light contact, constant movement and the right grit help you avoid this.
Do I need a dust collector?
It is not mandatory, but filing creates fine dust, so many people like to have one. At minimum, work in a ventilated area and brush dust away regularly.
How do I know when to stop?
Stop if the nail feels hot, if you feel stinging, or if you notice redness. Let the nail rest and check your technique before continuing.