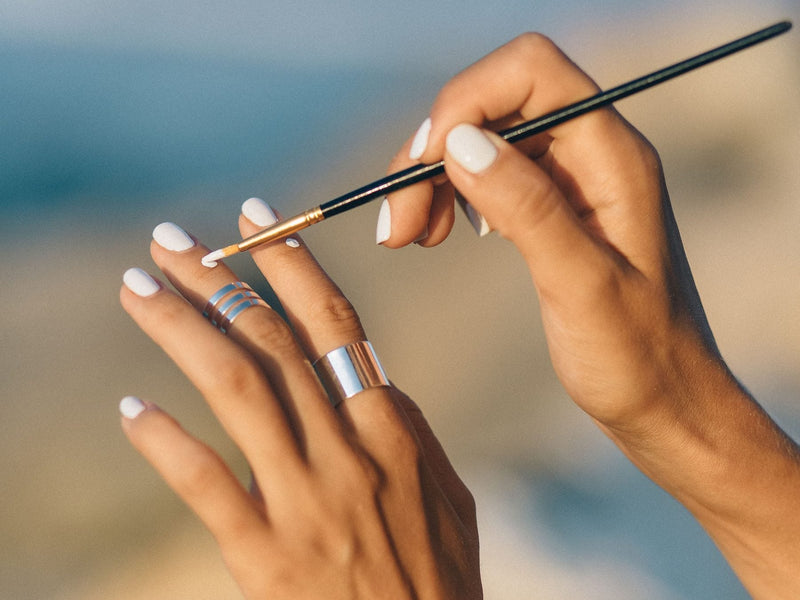
Nail art supplies for beginners can feel overwhelming: there are brushes in every shape, gels in every finish, and tools whose purpose is not obvious until you own them. The good news is that you do not need most of it on day one. A small, well-chosen kit is enough to learn clean lines, simple designs and a steady routine, and you can add to it as your skills grow.
This guide walks through what to buy first, what can wait, and how to set up a workspace that makes practice easier. It is written for hobbyists doing their own nails at home, so the focus is on tools that help you learn rather than on a full salon setup.
Start with the right mindset: skills first, gadgets later
Most beginners spend their first budget on colors and decorations, then discover that the real obstacle is control. Lines wobble, gel floods the cuticle, and designs smear before they cure. The tools that fix these problems are usually unglamorous: a few good brushes, a way to practice off your own hand, and a stable place to rest your wrist.
A useful rule is to buy in this order:
- Something to practice on, so mistakes cost nothing.
- A small set of brushes covering lines, details and flat strokes.
- A curing lamp and gel if you plan to work with gel polish.
- Prep and removal basics so you can start and finish cleanly.
- Comfort and precision aids such as a hand rest, magnification and light.
- Decoration such as rhinestones, powders and stickers, once the foundation is solid.
1. A practice hand and replaceable nails
Painting your own non-dominant hand is the hardest version of nail art, because you are working with your weaker hand and the nail moves. A practice hand removes that problem. You can attach a tip, try a design, wipe it off or swap it, and repeat as many times as you like.
The Nail Practice Hand Kit is a flexible ABS hand of about human size with detachable nails and adjustable fingers. The listing describes it as usable for acrylic, gel and wrap practice, and it comes with either 100 or 200 replacement nails depending on the option you choose. Having plenty of spare nails matters: it lets you attempt the same design several times in a row, which is how you actually improve.
If you prefer a different style, the Flexible Silicone Nail Practice Hand is a silicone hand intended for training manicures and nail art at your desk.

2. A starter brush set
Brushes are the most important nail art tool you will own. You do not need dozens, but you do need a mix of shapes, because each one does a different job:
- Liner brushes have long, thin bristles that hold product and let you draw a continuous line, such as a French tip edge, stripes or fine outlines.
- Detail brushes have a short, small tip for dots, tiny flowers and precise corrections.
- Flat brushes lay down solid color or blend edges and help with shapes that need a sharp side.
The Nail Art Brush Set comes in a 9-piece or 12-piece option and includes liners, detailers and flat brushes with synthetic bristles in mixed shapes and sizes. It is a sensible all-round starting point because it lets you find out which shapes you actually reach for.
Once you know you enjoy linework, a dedicated liner set is worth adding. The Ultra-Fine Liner Brush Set contains five long, thin synthetic liners made for fine lines and small details. For a deeper comparison of brush types, see our guide to nail art brushes and which brush suits which job.
Brush care in one paragraph
Wipe or clean your brushes after every use, and do not let gel or paint dry in the bristles. A brush that is cleaned each time keeps its point and gives you cleaner lines for longer, which is one of the cheapest improvements available to you.
3. A curing lamp and line gel (if you use gel)
If you plan to use gel polish, you need a lamp that cures it. Gel does not dry in air; it hardens only under a suitable light. For nail art practice, a small lamp is often enough, because you are curing one nail or a few at a time.
The Mini UV/LED Nail Lamp is a compact, USB-charged lamp with a 3 W LED bead, a 360-degree bendable neck and a timer of 20 or 60 seconds. It is aimed at curing gel on one or a few nails, which suits detail work and touch-ups. Always follow the instructions of your gel polish for cure times, and never look directly into the light. If you are unsure how lamp types differ, read UV vs LED nail lamps: what is the difference.
For drawing, a gel made for linework is easier than painting with ordinary polish. The Line Gel Nail Polish cures under a UV or LED lamp and has a fine brush for thin lines and details. The product listing recommends buffing the nail, applying base coat and curing, drawing the design and curing, then sealing with top coat and curing.

4. Prep and removal basics
Good nail art starts with clean, prepared nails and ends with removal that does not damage the surface. A few simple items cover both:
- A buffer or fine file to take the shine off the nail so base coat grips.
- Cuticle tools to push back and tidy the area around the nail. A stainless steel manicure set with case keeps these together.
- Lint-free wipes and gel remover for cleanup and removal.
- Cuticle oil to finish.
When you are ready to take gel off, the gentlest approach is to soften it rather than scrape it. Our guide to removing gel polish at home covers the steps in order. If you remove gel often, a machine such as the 36W Steam Gel Polish Remover loosens gel with heated steam so that you do not have to scrape hard. Its listing notes that gel removal liquids are flammable, so use it in a ventilated area and away from heat sources.
5. Comfort and precision aids
These are not essential on day one, but they are what most beginners wish they had bought earlier. Nail art is close, detailed work, and tiredness shows up as shaky lines.
- A hand rest. Supporting your wrist and hand takes strain out of the movement. The Soft Hand Rest Cushion is a padded armrest for painting at a desk or table.
- A stabilizer. The Nail Art Hand Stabilizer gives you a metal bar to anchor your hand on, rotates 360 degrees, and has a rubberized base that grips the work surface. Our article on keeping your hand steady for nail art explains how to use anchor points.
- Magnification and light. The LED Headband Magnifier includes five interchangeable lenses, an adjustable light angle and an elastic headband, and its nose bridge is adjustable for use with prescription glasses.
6. Decoration, once the basics are in place
Rhinestones, powders and stickers add finish to a design, but they work best when your base is clean and your linework is tidy. A few things to consider when you get there:
- Rhinestones. A mixed-size set lets you try accent stones, outlines and clusters. The Clear Nail Rhinestones set contains about 2,400 flatback glass stones from 1.5 to 4 mm, supplied in 12 grids.
- A mixing and display palette. A resin palette gives you a clean surface to mix gels and to arrange practice tips so you can compare designs. See the Resin Stone Nail Display and Mixing Palette.
- Powders and effects. Pigment and chrome powders need a steady base and a good top coat, so they are best saved for after you have mastered smooth gel application.
A sample beginner kit, step by step
If you want a simple plan, use this order and stop whenever you have what you need:
- Get a practice hand with spare nails and a small brush set.
- Practice basic strokes on blank tips: straight lines, curves, dots and a simple French edge.
- Add a mini lamp and line gel and repeat the same exercises, curing between steps as your gel instructions say.
- Add a hand rest or stabilizer when your lines start to wobble from fatigue.
- Add stones, powders or stickers when your base work is consistently clean.
Common beginner mistakes to avoid
- Buying everything at once. It is easy to end up with tools you do not know how to use. Start small.
- Skipping practice. Ten minutes on a practice hand is worth more than a new gadget.
- Applying thick coats. Thin layers cure more evenly and give you more control. Follow your gel maker's instructions.
- Letting gel touch the skin. Keep product off your cuticles and skin; if irritation appears, stop using the product.
- Neglecting cleanup. Clean brushes, wipe bottle necks and keep lids closed.
Setting up your workspace
A tidy station makes practice more enjoyable and keeps small items from disappearing. Choose a stable table with good light, put your lamp, brushes and palette within reach, and keep gel bottles away from direct sunlight. If you have many small items, a sticker storage book or a bit box helps you find things quickly.
What you need
- Nail Practice Hand Kit with replacement nails
- Nail Art Brush Set with liners, detailers and flats
- Mini UV/LED Nail Lamp, USB powered
- Line Gel Nail Polish for thin lines
Browse more in the starter kits and sets collection and the nail art brushes collection. Related reading: how to practice nail art with a practice hand and nail art brushes: which brush for which job.
Frequently asked questions
What nail art supplies do I need to start?
A practice hand with replacement nails, a small set of brushes, and, if you use gel, a curing lamp and a gel designed for linework. Prep and removal basics complete the kit.
Do I need a UV or LED lamp for nail art?
Only if you use gel polish, because gel cures under a lamp. If you use regular polish and paint-on designs, you do not need one.
How many brushes should a beginner buy?
A set that includes a few liners, a couple of detail brushes and a flat brush is plenty. You can add specialist brushes later once you know which strokes you use most.
Is a practice hand worth it?
For most beginners, yes. It lets you repeat designs without wasting your own nails and helps you learn the movement before you attempt it on yourself.
Should I buy rhinestones and powders first?
It is usually better to build your base skills first. Decorations look best on clean, smooth nails with tidy linework.