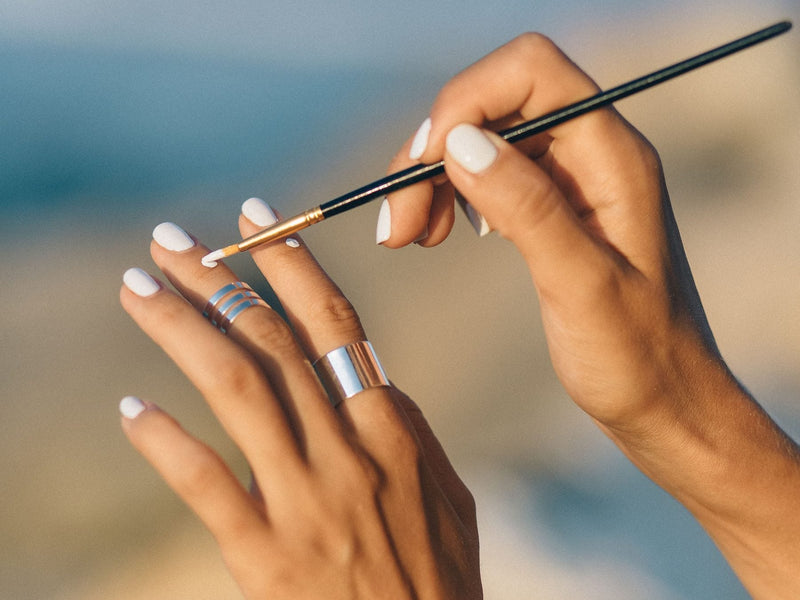
Learning how to do gel nails at home is mostly about order of operations: prep, base coat, thin color coats, top coat, and a lamp between every layer. Once you know the sequence and have the right kit, a gel manicure takes about as long as a salon visit minus the travel. This guide covers what you need, a full step-by-step routine, the mistakes beginners make most often and how to take your gel manicure off again.

What gel polish is and how it differs from regular polish
Gel polish is a formula that stays liquid until it is cured under a UV or LED lamp. Regular polish dries by evaporation, so it can smudge for a while after you paint it. Gel hardens only when cured, so you can work slowly, fix mistakes before curing and then lock the layer in under the lamp in seconds. The finish is usually glossy and durable, and it needs a gel-specific removal routine.
What you need for gel nails at home
| Item | What it does | Required? |
|---|---|---|
| UV or LED nail lamp | Cures each layer so it hardens | Yes |
| Gel base coat | Helps color grip the nail | Yes |
| Gel color | The visible color of the manicure | Yes |
| Gel top coat | Seals and adds shine | Yes |
| Nail cleanser and lint-free wipes | Removes oils and tacky residue | Yes |
| File, buffer, cuticle pusher | Shapes and preps the nail | Yes |
| Thin brush and line polish | Adds lines and details | Optional |
| Hand rest or cushion | Supports your wrist while you work | Optional |
| Practice hand | Lets you practice without using your nails | Optional |
Not sure which lamp suits your gel? Read UV vs LED nail lamps before buying, and check the instructions on your gel for curing times. If you are putting a kit together from scratch, nail art supplies for beginners lists the extras.
How to do gel nails at home, step by step
Step 1: Prep the nails
- Remove any old polish and wash your hands.
- Shape the nails with a file so they are all roughly the same length.
- Gently push back the cuticles with a pusher. Do not cut live skin.
- Lightly buff the shine off the surface of each nail so the gel can grip.
- Wipe each nail with cleanser and a lint-free wipe and avoid touching them afterwards.
Step 2: Apply the base coat
- Wipe the brush on the neck of the bottle so you pick up a small amount.
- Apply a thin layer from near the cuticle to the free edge, leaving a hairline gap around the skin.
- Run the brush along the free edge to cap it.
- Cure in the lamp for the time given by the maker of your gel.
Step 3: Apply the color
- Apply a thin first coat of color and cap the free edge.
- Cure it, then apply a second thin coat and cure again.
- If the color is still streaky, add a third very thin layer rather than a thick one.
Step 4: Apply the top coat
- Apply a thin layer of top coat, covering the color completely and capping the free edge.
- Cure it fully.
- If your top coat leaves a sticky layer, wipe it off with cleanser. A no-wipe top coat will not leave one.
Step 5: Finish
Wipe away any sticky residue if your top coat needs it and finish with a drop of cuticle oil. Wash your hands and check the free edges, side walls and cuticle line for lifting or gel on the skin.
Thin coats and capping: the two habits that matter most
Thick layers do not cure properly and tend to wrinkle, peel or feel soft. Capping, which means running the brush across the free edge of the nail with every layer, seals the layers together and is one of the most effective ways to prevent chipping at the tip. If you build only two habits from this guide, build these.
Common mistakes and how to avoid them
| Mistake | What happens | Fix |
|---|---|---|
| Thick coats | Wrinkling, soft spots, peeling | Use thin layers and cure each one |
| Gel on skin or cuticles | Lifting at the edges | Leave a hairline gap and tidy with a small brush before curing |
| Skipping prep | Early peeling | Buff lightly and wipe with cleanser |
| Not capping the free edge | Chipping at the tip | Brush along the edge with every coat |
| Under-curing | Tacky or soft finish | Follow the cure time of your gel and lamp |
| Touching nails after cleanser | Oils return to the surface | Wipe and apply base immediately |
Troubleshooting
The gel is wrinkling after curing
This usually points to a layer that was too thick. Remove it, apply thinner layers and make sure your lamp covers all of the nail, including the thumb.
The gel shrinks away from the edges
Shrinking happens when the layer is thick or when the free edge has not been capped. Apply a thinner layer and cap the edge before curing.
The finish is streaky
Some colors need three thin layers. Roll the bottle in your palms to mix it, and avoid shaking it hard, which adds bubbles.
The nail feels sticky after curing
If you used a no-wipe top coat and it still feels tacky, the layer was probably too thin or the lamp did not reach the nail. Cure again and, if needed, add a fresh top coat. With a regular top coat, a tacky layer is normal and wipes off with cleanser.
Setting up your workspace
A tidy setup makes every step faster and keeps gel off things you do not want it on. Gel stays liquid until it is cured, which is helpful for you but also means drips and spills spread.
- Work at a table with good light and a towel or disposable liner under your hands.
- Keep the lamp within reach and plugged in before you start.
- Put the gel bottles in a dim spot away from windows, because strong light can start to cure the product in the bottle. Close each bottle as soon as you finish a layer.
- Have cleanser, wipes, remover and a small clean-up brush on the table before you open the base coat.
- Work one hand at a time, and cure only that hand before moving to the other.
Thumbs and the lamp
Thumbs sit at a different angle from the other fingers and often receive less light in a small lamp. Many beginners cure the four fingers together, then cure the thumb on its own, so it is fully exposed. Check the instructions of your lamp and gel, and if the thumb comes out tacky, cure it separately next time.
Keeping the manicure looking good
- Moisturize your cuticles and hands daily so the skin around the nails stays comfortable.
- Wear gloves for washing up or cleaning products, which can dull a top coat over time.
- Do not use your nails as tools for prying, scraping or opening packages.
- If a corner lifts, trim or file the lifted edge and re-seal it with a thin layer of top coat. Do not pick it.
- Plan to remove the manicure at the end of its wear, instead of letting it grow out for a long time, so that removal is easier.
Where to practice first
A practice hand lets you go through the whole sequence, including capping and curing, without committing your own nails. Our guide to practicing nail art with a practice hand shows how to run a practice session, and a flexible silicone nail practice hand is made for training gel, acrylic and nail art. A manicure hand rest cushion gives your hand and wrist a steady place to sit while you work.

How to remove gel nails at home
Gel does not dry off like regular polish, and peeling it can take layers of the natural nail with it. Remove it by breaking the top coat's seal with a buffer and then following the soak-off or steam method for your product. We cover the full routine in how to remove gel polish at home.
What you need
- Mini UV LED nail lamp
- Steam gel polish remover machine
- Flexible silicone nail practice hand
- Manicure hand rest cushion
- Starter kits and sets collection
- Lamps and gel care collection
Related reading: UV vs LED nail lamps and how to remove gel polish at home.
Frequently asked questions
Can you do gel nails at home without a lamp?
No. Gel polish only cures under a UV or LED lamp that suits the product, so a lamp is a required part of a gel kit.
How many coats of gel polish do you need?
A typical routine is one base coat, two thin color coats and one top coat, with a cure between each. Some pigmented colors need a third thin coat for even coverage.
How long does gel polish take to cure?
Curing time depends on the gel and the lamp, so follow the instructions on your gel polish and lamp rather than a general number.
Why is my gel polish peeling?
Peeling usually comes from oils or moisture on the nail, gel touching the skin or cuticle, thick coats or missing the cap on the free edge. Prep and thin layers fix most cases.
Is gel polish good for beginners?
Many beginners like gel because it gives you time to fix mistakes before curing. It does need a lamp and a proper removal routine, so practicing on a practice hand first can help.